Many people think I’m very meticulous but the truth is I’m incredibly lazy and will go to extraordinary lengths to avoid doing something I don’t want to do. The irony is my shortcuts are probably longer than the original route. With that in mind, here are a few experiments I've made to see if I can create 'pre-painted' rubble that I can add to miniature and terrain bases.
Charred wood
My original intention was to make some dirty wood for use in ruined buildings. It's a simple enough process. First, I broke a load of matchsticks into various lengths. To break them near the ends, I found it easier to use a pair of small pliers than to use my fingers. I then soaked the matchsticks in Folk Arts Walnut wood stain. The stain was a lot darker and more opaque then I expected, so I added a fair amount of water to the mix as well.
I left the matchsticks to soak for a day, then transferred the soaked sticks to a second container to dry out and added fresh sticks to the wood stain until it was used up.
When dry, this is what you get:
It's not dirty wood, but wood that looks like it's been blackened by fire. It wasn’t a wasted effort though because I need this kind of wood too!
Dirty wood
I tried again, this time soaking the broken matchsticks in a solution of mid-grey paint, thinned to about one-third strength with water. I didn't measure it, but kept adding water until the paint was no longer capable of coating the wood properly. Again, I let the matchsticks soak for a day and recycled the paint solution until it was used up. This is what you get:
And this is what I was originally after; something that looks like the plain wood hiding up in the loft or between floors that gets exposed when a building is demolished.
Weathering powder
I always liked the idea of weathering powders but they're too expensive for me so, after a little internet research on modelling and railway forums, I decided to make my own powders. I got six tubs of tempera powder paint off eBay for £12.00, plus a bag of plaster of paris from my local(ish) model shop for a few quid. All in all, a fraction of the price of a set of weathering powders. Note that even the smallest tubs of tempera are heeeeooooge – I’ve included some 15mm Peter Pig US Marines in the picture below for scale, so you can see just how much powder paint I ended up with. I will never, ever, ever, ever run out of this stuff!
There are many more colours available, but I decided I could make all colours I would need from vermilion, burnt umber, burnt sienna, yellow ochre, black and white:
There's nothing to it. It’s just a case of making the colour you want with the paint pigments and then mixing the colour at an approximately 1:1 ratio with plaster of paris. The colours lightened slightly with the addition of the plaster but I didn’t think was enough of a problem to warrant darkening the mixes again. Here are a few of the powders I made:
I've now got various mixes for dust, soot, brick dust and all the things that I would usually drybrush on to terrain features with paint. I’ve stored them in a set of tiny containers I bought from The Works. I'm not convinced the container lids are all that safe so I've stored the whole lot in a small box from Wilkinson's that neatly holds twelve containers:
Dyed sand
Since I now have six massive tubs of tempera paint, I started to think of other uses for them. The way I make bases for my minis is currently quite laborious, involving building them up with plaster, texturing them with sand and then painting them. It occurred to me that I could save time if I dyed the sand to look like earth so that I could just sprinkle it over some glue and skip the painting. Like everything else in this post, there’s nothing much to it. First, I mixed the colour I wanted with the various pigments:
Below, you can see the resulting colour on the right. Unfortunately, I forgot I was going to take a photo and chucked sand over most of it!
Below, the colour on the left is the sand mixed with the pigments. I was surprised to find that the colour of the sand doesn’t really affect the final colour. In this case, however, I decided the mixture was too red and added more yellow and white to it:
When you have the colour you want, add some water to the mixture:
I use an eyedropper for this because it's better to use less water then you need at first and add more as you need it, rather than try and get it right first time and over-saturate the mixture. I got the eyedropper from a chemist. Incidentally, when the water hit the pigments for the first time the smell conjured pleasant memories of mixing powder paints at school. Art lessons were the only bits of school that I really enjoyed but it's funny how you just forget these things. Anyhoo, at first you’ll get something like this:
A few more drops of water and you’ll get this:
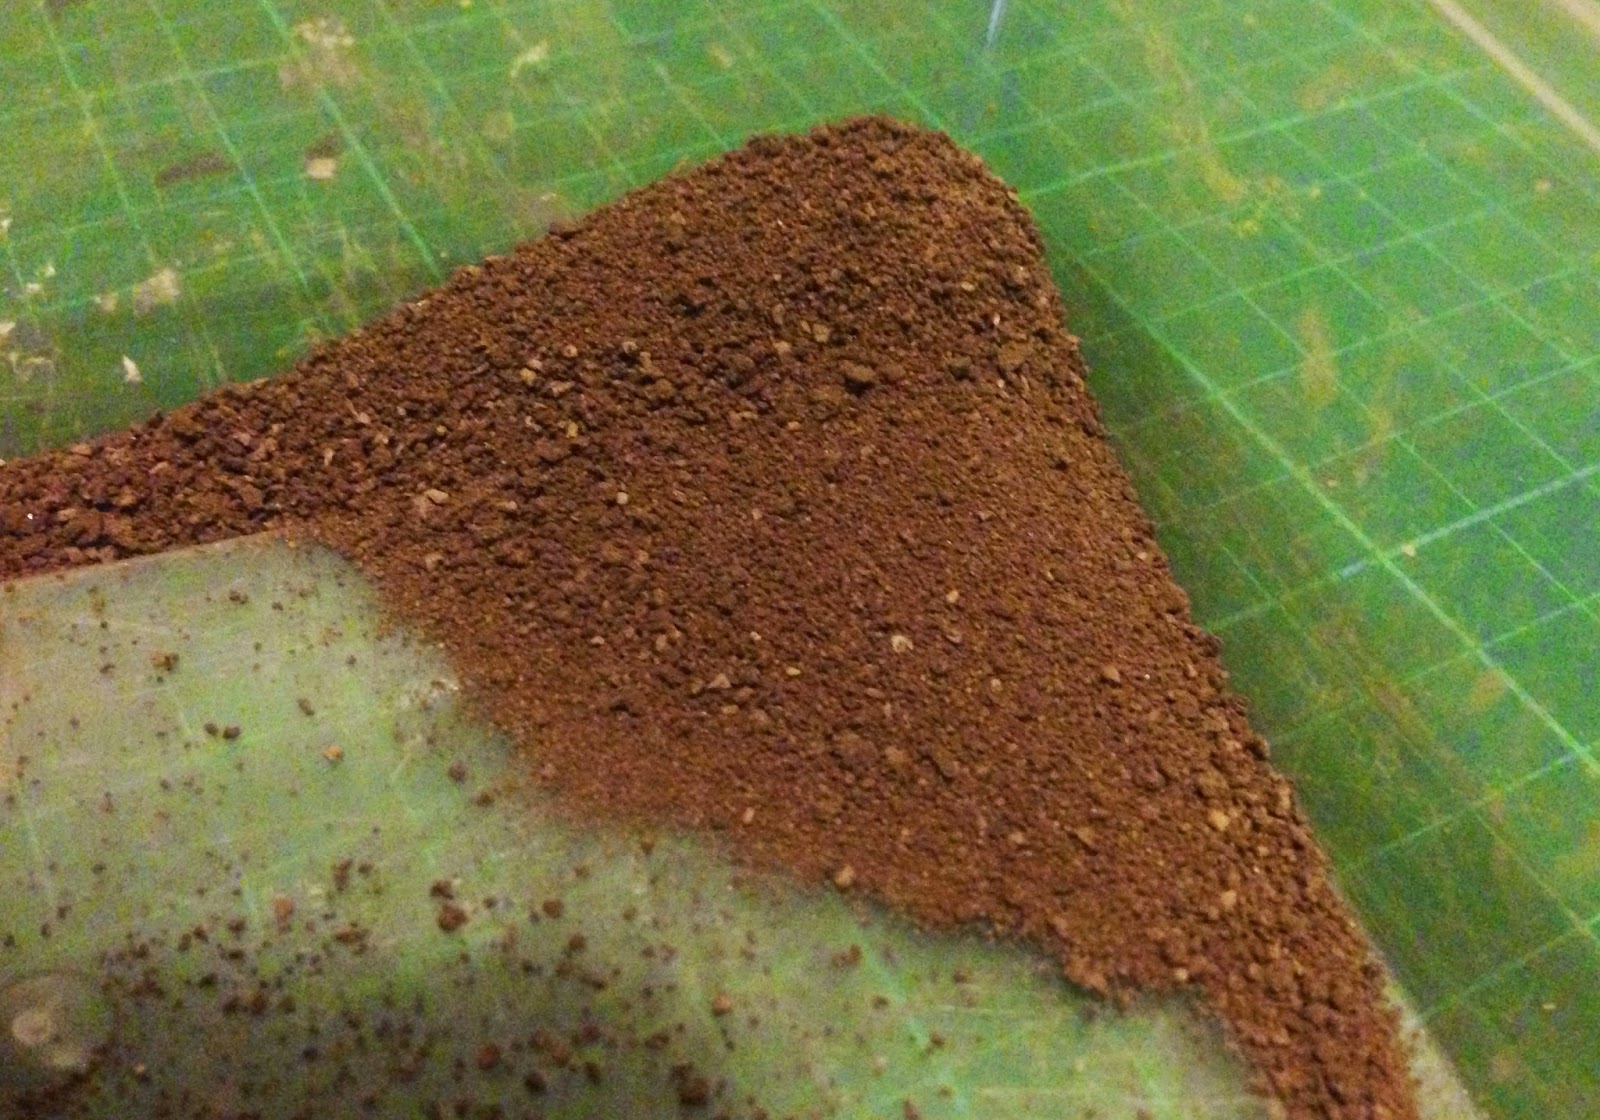
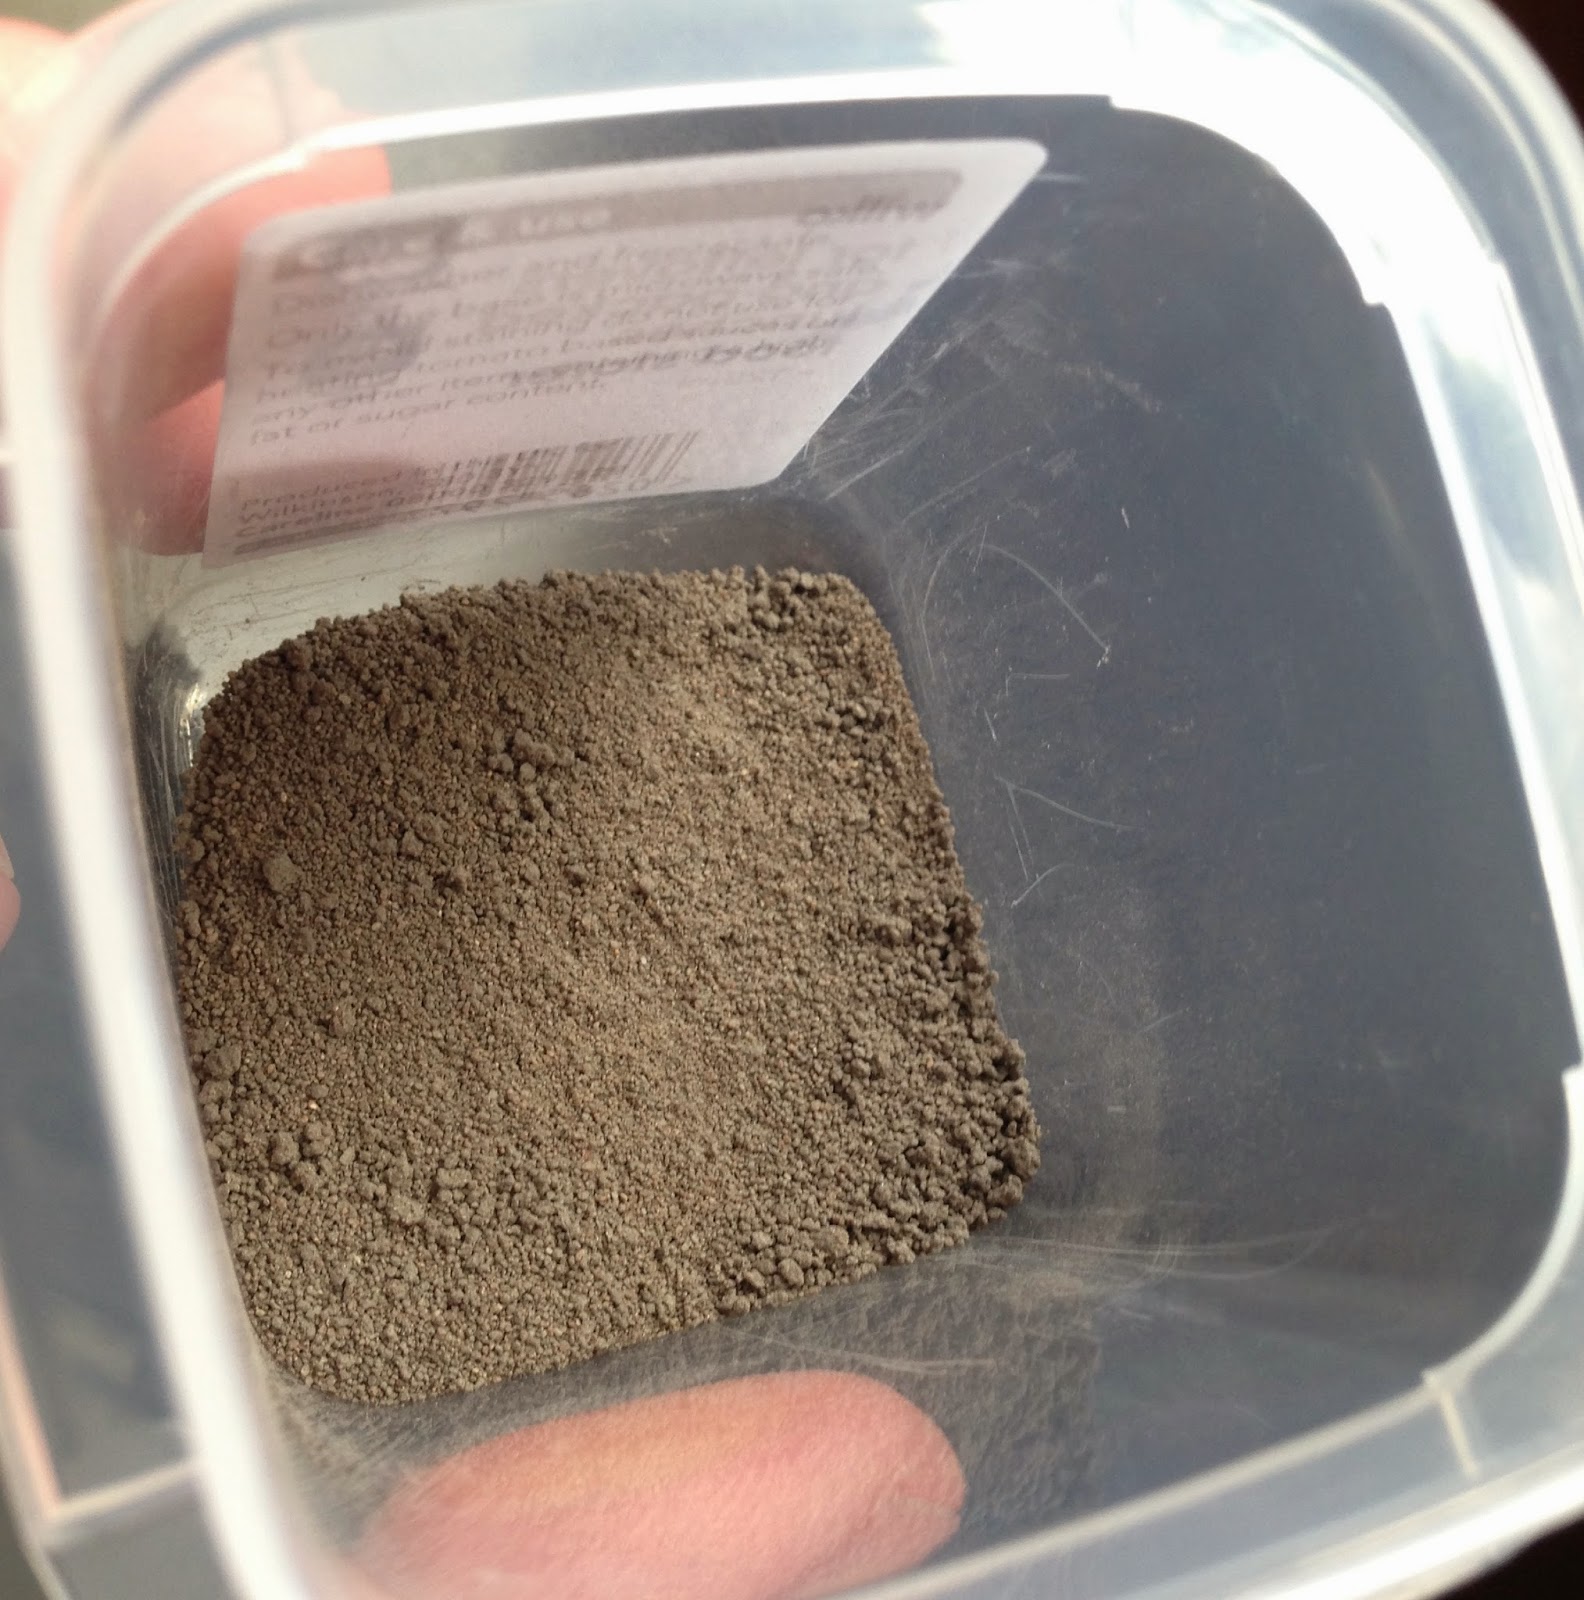
The mixture goes much darker when wet but lightens again as the water dries out. To speed things along, I’ve taken to standing the mixture on top of a radiator. When it’s dry, the paint and sand mixture looks like this:
You can grind it up a bit (I use the back of a spoon) so that the lumps are different sizes...
...or keep on grinding until it’s as fine as sand again:
I’ve made several batches for use as mortar, soot, brick dust and things like that:
I’ve also used different sizes of sand and mixed different colours together:
This will hopefully save me a lot of time when I’m adding rubble to ruined terrain pieces.
Quick basing
My last experiment was to add a dry mix of dyed sand and plaster of paris to some bases, and then to mist them with water from a sprayer. When the water dried, I got this:
The minis are GZG New Israelis. The bases look OK but I had to scrape some of the mix off the minis because I held the spray too close to them and blasted the mix over them! I might experiment more with this technique in the future, but I like to paint the minis before I finish the bases so this isn’t an ideal solution for me right now.
And finally...
I’ll leave you with this photo, which shows all these various bits and pieces in use. This is a sneak preview of the Commission Figurines’ 15mm Potzdammer Platz building that will be the subject of my next post...


Very useful and well written! Thanks for sharing these ideas. Sometimes, you will have a need to get that "right" color for something in the scenic side of things and your suggestions on how to go about it is actually economically cheaper in time than looking thru stores!
ReplyDeleteThanks for sharing!
Great tips. I have looked at those weathering powders as well and thought that they were rather expensive. Will definitely be giving this a try.
ReplyDeleteThanks for the comments! Time will tell but so far the weathering powders seem to adhere better to rougher surfaces. So far I've found that they take really well to painted MDF and matt paper, but not so well to glossy paper. I haven't really experimented with applying them to vehicles yet but I did try them on something that I'd painted with a silver acrylic and they didn't take too well to it. I'm hoping they'll adhere better to matt acrylic paints.
ReplyDelete